All About Compost

Compost Extract and Compost Tea

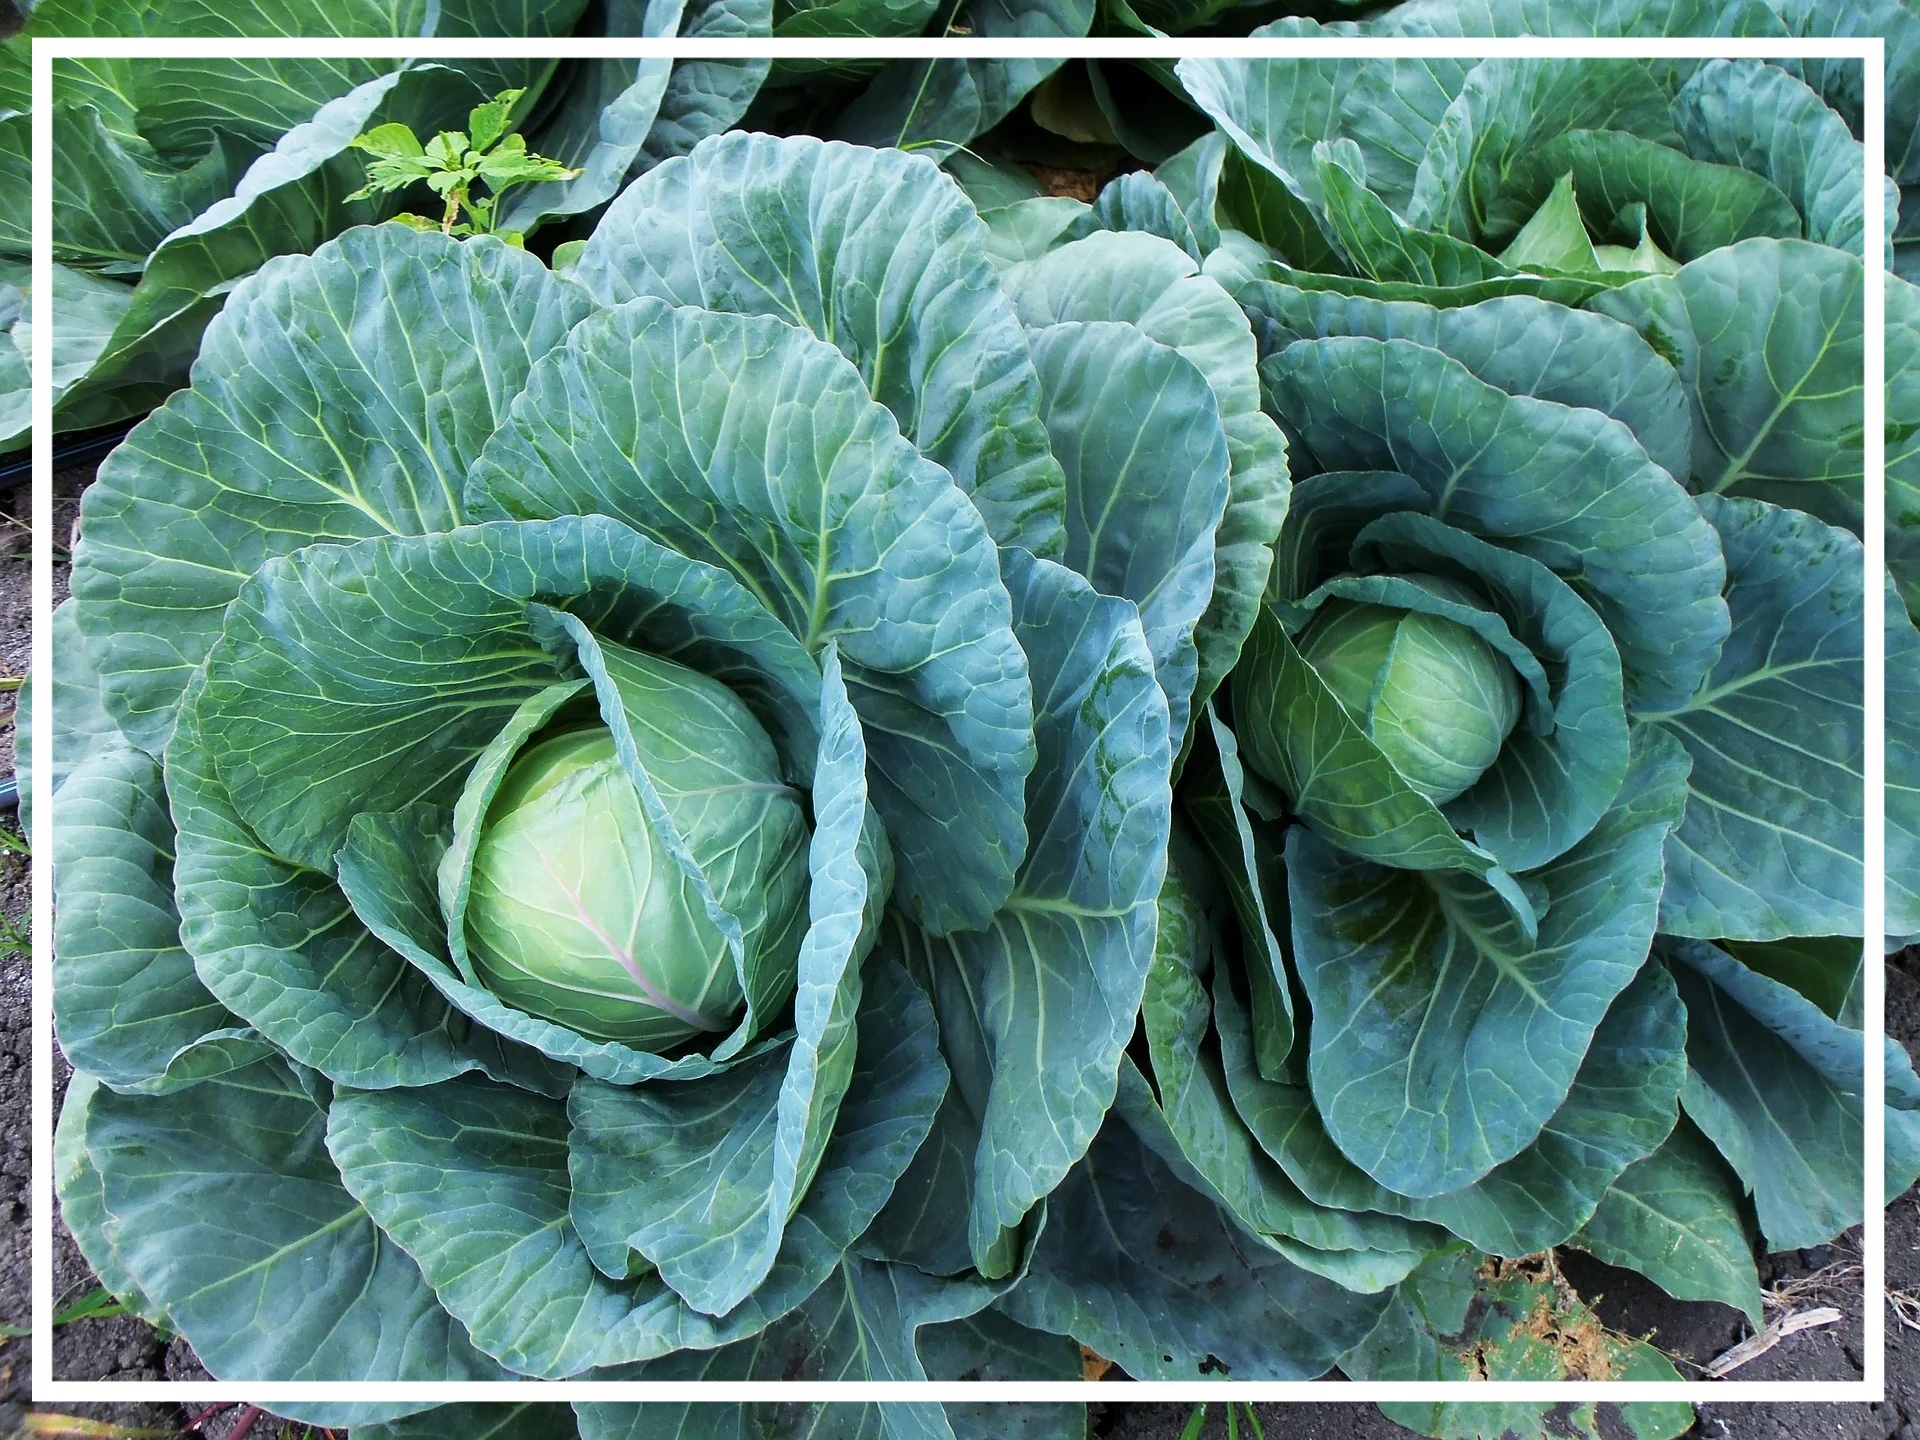
Compost is a valuable resource, as its nickname “black gold” suggests. Compost extracts and teas allow you to take a limited quantity of compost and multiply its benefits. While a cup of compost can probably only treat a plant or two, the same amount can cover an entire garden in liquid form.

Compost Extract vs. Compost Tea

So what’s the difference between compost extract and compost tea? It depends on who you’re talking to, unfortunately. Composting is still largely treated as an art rather than a science, so there is no organization providing standard definitions that every composter recognizes. In general, however, compost extract is primarily a liquid fertilizer, made by simply submersing finished compost in water and allowing nutrients to leach out. Compost tea, on the other hand, has come to refer to a liquid that has been “brewed” with oxygenation and nutrients to stimulate microbial growth.

While both are liquid compost products, the differences in their manufacture leads to some significant differences in how they are best used. Compost extract can be made relatively quickly—it only takes a couple hours with some light aeration for the nutrients to leach out. While compost extract will contain most of the nutrients of the source material, it supports little of the microbial life. It is best applied to the soil, so plant roots can make use of those nutrients. Because it is not very biologically active, however, compost extract can also be stored for up to a few weeks after it’s made.  

Brewing compost tea, meanwhile, focuses on breeding the microbial colonies in your compost for a biologically rich finished product. A small amount of compost is suspended in water, which is constantly aerated through the brewing process. In addition, some type of food for the microbes is added, with different foods encouraging different species to flourish. The food and oxygen create ideal conditions for microbes to multiply far beyond the typical carrying capacity of the liquid. This means that the compost tea should be applied as soon as possible after brewing, as the microbes will begin to die off as oxygen levels start to drop.

It is also beneficial to brew your compost tea at the same temperature as the environment in which it will be applied to ensure a population of microbes that thrive at those temperatures. Brewing compost tea in a cool basement and then applying it outside in 90° weather is simply a waste of all those organisms that needed the colder temperatures to thrive, as well as the resources you put into aiding their growth.

The process of making compost tea is a kind of fermentation, and the finished product has been shown to be effective in stimulating plant growth as well as treating disease. As many plant pathogens are fungal or bacterial in nature, the application of beneficial fungi and bacteria can provide an effective control. While rigorous scientific inquiry into the efficacy of compost tea is still relatively scarce, there is a lot of promise in the field, especially regarding the opportunity to develop targeted microbial preparations for specific pathogens. In the meantime, compost tea can be used as a general foliar and soil drench to provide a broad spectrum of benefits for your plants.

For a basic compost tea setup, suspend a permeable bag of finished compost in a five-gallon bucket. Add some food for your microbes and use an aquarium pump and airstones to aerate the water for 24-48 hours.

For a basic compost tea setup, suspend a permeable bag of finished compost in a five-gallon bucket. Add some food for your microbes and use an aquarium pump and airstones to aerate the water for 24-48 hours.

Making Compost Tea

A basic set-up for brewing compost tea can be made easily at home with a couple stops at the hardware and pet store. A five gallon bucket, an aquarium pump and airstones, and a permeable bag of compost will get you started. The airstones will oxygenate the water, allowing microbial populations in the compost to multiply. The addition of some type of food for the microbes is also important to microbial growth, and can even help determine what microorganisms will thrive. Simple sugars like corn syrup encourage bacterial growth, while oatmeal and other grains tend to support more fungal growth. Molasses, however, tends to be one of the most popular foods for compost tea because of its easy availability and its balanced support of both bacteria and fungi.

If you are on a municipal water system, you are almost guaranteed to have chlorinated water, which will inhibit the growth of bacteria and fungi. While that is great for city drinking water, it’s less helpful for compost tea and extract, as it indiscriminately kills both bad and good microbes. Chlorine will naturally off-gas in about 24 hours in a five gallon bucket, or you can pre-aerate the water with your air stones for a couple hours to speed up the process. Beyond the removal of chlorine, there is little agreement on what specific effects water type (well water, distilled, reverse osmosis, even homeopathic “living water”) has on the growth and population of bacteria and fungi in compost tea. Microbe populations can shrink and grow extremely rapidly—an individual bacterium can divide itself in as little as every 12 minutes, and can die just as quickly—so anecdotal evidence of home brewers is simply not rigorous enough to provide a reliable link between the source water and finished compost tea microbe populations.

While bacteria multiply rapidly in compost tea, fungi take longer to reproduce and will generally just grow into larger organisms during the brewing cycle. The key to a fungi-rich compost tea is to maximize the number of fungal hyphae in your starter compost. The process is somewhat like making compost tea, in that you provide food to encourage the reproduction of your target organisms. Growing fungus, however, takes a several days, versus compost tea’s 24-48 hours. And while fungi do like to be damp, you are still aiming for a solid compost product—just with a lot more fungus. Mix four parts compost to one part fungal food like ground oatmeal, powdered malt, or fish hydrolysate and store in a warm, dark place for about a week. The fungi should have grown and be visible as white, threadlike organisms throughout the compost, which can then be used to produce a fungus-rich compost tea.

Vermicomposting: The Basics of Worm Bins

Worm bins are one of the most common methods of indoor composting. Also known as vermicomposting, worm bins are great for apartments and offices with no outdoor space and climates where cold temperatures preclude winter composting. They’re also a great tool to get younger children engaged in composting with their accessible and dynamic ecosystem.

What to Feed Your Worms

Worms tend to avoid plants in the brassica family.

Worms tend to avoid plants in the brassica family.

Contrary to their reputation, worms are not able to eat anything and everything you put into a worm bin. Large quantities of citrus should be avoided, as it contains a compound poisonous to worms. Brassicas (cabbage, kale, broccoli, cauliflower, Brussels sprouts, turnips, etc.) and alliums (onions, garlic, shallots, scallions, leeks, chives, etc.) are generally disliked by worms, and they often eat them so slowly that they begin to rot in the worm bin—plus, they are typically strong-smelling food scraps to begin with. Similarly, meat, dairy, and fats go rancid so quickly that they become a nuisance in a typical worm bin, producing foul odors and attracting unwanted pests.

While worms can certainly break down food, their systems are not capable of killing harmful pathogens like a hot compost pile would. For that reason, it’s important not to add dog or cat (or human!) waste to a worm bin. Like worms, their digestive systems process food too quickly to destroy harmful parasites or bacteria. In addition, try to avoid adding any non-biodegradable materials to the worm bin, like rubber bands and produce stickers. While they won’t normally hurt the worms, they also won’t decompose at all and will cause trouble for you with your finished vermicompost.

Types of Bins

Worm bins can come in many forms, but there are few things that are important to consider in any design. Worms breathe through their skin and need to stay moist to do so, and dark, damp environments keep them from drying out. They thrive at moderately warm temperatures and should be protected from extreme heat or cold. While worm bins should be covered to prevent excessive moisture loss, they do still need to admit enough fresh air for the worms to breathe.

Almost as important are considerations of your own needs. Is your bin sized appropriately for the amount of food waste you’ll be feeding your worms? Will it fit in the space you have available to store it, or is it something you’ll be happy looking at if it’s out in public? Do you want a system that naturally separates the worm castings from the active worms, or are you willing to do that yourself? Do you have the time and resources to DIY your bins, or are you looking for something ready-made?

A worm bin can be as simple as a plastic storage tote with ventilation. Quaddell|CC 3.0

A worm bin can be as simple as a plastic storage tote with ventilation. Quaddell|CC 3.0

A basic worm bin can easily be constructed from a single plastic tote with ventilation holes, but many people prefer a style that simplifies the process of harvesting the worm castings. Most commercially available worm bins feature a multi-level system that allows worms to migrate from one area to the next. Worms go where the food is, and simply adding a new level with bedding and food will draw them in, leaving the finished castings behind. In addition to ready-made bins, this style of bin is easy to make at home with a series of of buckets or bins.

Worm bins can be used outdoors as well, although freezing temperatures will be fatal. Bins that give the worms direct contact with the ground will allow them to migrate below the frost line, but if you want to give your worms in enclosed bins a chance, you’ll need to either release them or bring the whole bin inside. Worm eggs, on the other hand, can make it through harsh winters, so even if you lose all your worms, you have a good chance of a fresh population in the spring.

Outdoor worm composting can be as simple as tossing your food scraps in pile and waiting for the worms to arrive. Predators, however, become an issue for outdoor worm bins, so some type of lid or cover is advised. Many outdoor worm bins that are available to purchase do double duty as benches or stools, with attractive wood exteriors. Worm tubes, where a perforated tube is buried vertically in the garden with its end exposed, are another option for outdoor worm composting. Food scraps are dropped into the open end of the tube to feed the worms, who enter and leave the tube freely, aerating and fertilizing the surrounding garden soil in the process.

Troubleshooting Worm Bins

Like any form of composting, worm bins don’t always function according to plan. With a box of living animals, however, the stakes are a little higher than with a standard outdoor compost pile. Below are a few common worm bin problems encountered and some ways to remedy them.

Too Much Moisture: One of the most common problems for vermicomposters is the accumulation of water in the worm bin. The water can come from many sources, but it can also be remedied a number of ways. Some people set up their worm bins so that any excess liquid drains out and is captured outside the bin. You can also physically remove the water from bins without drainage, whether by carefully tilting and pouring or using a turkey baster. The liquid removed is rich in nutrients and can be used to fertilize plants in the garden or indoors, as long as it is removed before it goes rancid. You can also mitigate moisture issues by adding more dry bedding to the worm bin and halting the addition of water-rich food scraps, like melons or lettuce, until a better balance is achieved.

Rotting Food: Rotting food can be the result of giving your worms unsuitable materials like dairy and fats, but it can also result from simply feeding the worms too much food in general. If there is more food than the worms can handle, some will inevitably start rotting before they ever have a chance to get to it. For one-off events like a party or the holidays, the extra food can be rationed and frozen so that it can be fed to the worms gradually. If you’re dealing with a chronic overfeeding problem, however, it may be time to invest in a larger system or an additional bin.

Flies: One of the most annoying problems with worm bins is certainly the tiny flies they can attract. Some food waste may have fly eggs or larvae on the surface, which later hatch in the worm bin. The decomposing food can also provide a welcome spot for nearby flies to lay their eggs. Covering the ventilation holes with a fine mesh can help, although there will still be opportunities for flies to enter and exit when you open the bin to add food. Burying the food you add under a layer of bedding will also go a long way towards reducing the odors that attract flies. Finally, freezing food waste before you add it to the worm bin will kill any eggs—just let it thaw before adding it to the worm bin.


Building a Hot Compost Pile

A hot pile is the holy grail of home composting. By providing the proper conditions, microorganisms will continually build up heat as they break down organic matter in your compost pile. As the temperature increases, increasingly effective bacteria move in and break down tough organic matter at a much faster pace than larger decomposers like worms and beetles. With the proper conditions, a hot pile will break down into finished compost in as little as four to six weeks. Getting those conditions right can be challenging for even experienced composters, but a following a few guidelines will set you up for success.

Carbon to Nitrogen Ratio

The most important consideration for your compost pile is the ratio of carbon to nitrogen (abbreviated C:N) in the materials you use. Carbon-rich materials are commonly called “browns,” and include things like dry leaves and pine needles, wood chips, sawdust, and shredded paper. Nitrogen-rich materials, referred to as “greens,” include fruit and vegetable scraps, grass clippings, coffee grounds, and chicken manure. The ideal C:N ratio is 30:1, by weight, and you should balance your materials to achieve a ratio in the appropropriate range. Since each potential compost ingredient has its own C:N ratio, for ideal conditions you have to do some complicated math. If you have five pounds of fresh grass clippings (which has a C:N ratio of 20:1), you could balance it with only 0.16 pounds of sawdust (which has an extremely high C:N ratio of 500:1) or 1.125 pounds of dry leaves (with a C:N ratio of 60:1).

Grass clippings have a C:N ratio of about 20:1, putting them on the nitrogen-rich end of the spectrum.

Grass clippings have a C:N ratio of about 20:1, putting them on the nitrogen-rich end of the spectrum.

While mathematically calculating by weight can be helpful, especially when dealing with materials with extremely high or low C:N ratios, there are alternate methods for those who aren’t worried about being exact. Most materials will be more easily measured by volume—a five-gallon bucket or a 32-gallon trash can—than by weight. Thus, an easy rule of thumb to achieve a C:N ratio near 30:1 is to use two parts browns (typically drier and lightweight) to one part greens (typically wetter and dense). While materials with extreme ratios, especially shredded paper, wood chips, and sawdust, can throw off the ratio, this simple, volumetric measurement will generally produce an acceptable ratio for hot composting.

If your ratio is off, you will know it very soon. Compost piles with too much nitrogen will go anaerobic, producing smelly ammonia compounds. Compost piles with too much carbon, however, will simply fail to heat up. The solution is as easy as adding more of the necessary material as you turn your pile, bringing the overall ratio closer to the ideal 30:1.

Size

Building your compost pile to an appropriate size is a crucial but often-overlooked step for hot composting. Heat is a byproduct of the decomposition process, but if a pile is smaller than 3’x3’x3’ (a cubic yard), it simply will not retain enough of that heat for the powerful decomposers to move in. Most commercially available compost bins and tumblers are too small to meet this threshold and won’t sustain hot compost. You can certainly produce compost from these smaller bins, but at a much slower rate than you would with a hot pile. You can certainly go larger than 3’x3’x3’, but any larger than 5’x5’x5’ usually becomes too unwieldy for the home composter.

Stockpiling fall leaves is an easy way to get a large volume of carbon-rich material.

Stockpiling fall leaves is an easy way to get a large volume of carbon-rich material.

Many home composters have trouble coming up with enough material for a hot pile all at once. Stockpiling resources is one way to go, perhaps saving fall leaves through the winter to mix with grass clippings in the spring. Also consider turning to your community for extra resources. Your neighbors are likely glad to part with their own yard waste, and you may be able to convince them to give you their food scraps, too. If you have friends with chickens or rabbits, see if you can have their manure or used bedding. Many coffee shops give away their used coffee grounds, and yard maintenance companies might be willing to save themselves a dump fee and drop off their debris at your house. Raid the office paper shredder, as long as there’s no plastic or wax coatings. And if all else fails, check online postings to see if people have free organic material they’re giving away.

Moisture

Water is another important part of the compost process, and it has to be at just the right levels for a compost pile to heat up. Keeping the moisture content between 40-60% is ideal. Your materials should feel like a wrung-out sponge—wet, but without dripping when you squeeze it. A dry compost pile is simply not a good habitat for most decomposers. Too much water, however, will keep the organisms in your pile from accessing oxygen, turning the compost process to the much smellier and slower anaerobic decomposition.

Oxygen

Oxygen is the final piece of the hot compost puzzle. Hot composting is an aerobic process, after all, and needs a constant supply of oxygen to keep working. Turning your pile weekly is the best way to keep your pile aerated and your decomposers respiring. The best way to turn compost is to physically move the whole pile from one spot to another, so keep that in mind when choosing the type of bin to use. With a three-bin system, for example, you simply move it from one compartment to the neighboring one, while a mesh cylinder can be unhooked and relocated adjacent to the existing pile, moving back and forth each week. Whatever your system, be sure to consider the space needed for the turning process when locating your compost pile.

While turning the pile, attempt to move material from the center of the pile to the outside and vice versa for even decomposition. Monitor your moisture levels, and add water every 6-8” as necessary to keep the water content between 40-60” throughout the pile. You can also take the opportunity to break up any clumped material and pockets of bad-smelling anaerobic decomposition.

Don’t Sweat It

Hot composting is the best way to have ready-to-use compost in a matter of weeks, but it certainly doesn’t work for everyone’s lifestyle. Fortunately, everything breaks down with enough time, and you can count on a variety of worms, beetles, fungi, bacteria, and other organisms to more slowly break down your pile at lower temperatures. Depending on contents and moisture level, a passive pile will produce compost in anywhere from six months to two years.


Top 5 Benefits of Compost

Compost is extremely beneficial to your soil, as most avid gardeners know. Whether worked into the earth or applied as a top dressing, compost can give your plants extra vigor as they grow. Even people who regularly use compost, however, are surprised at just how many ways it can improve their soil with its rich mix of organic matter and living organisms. Below are the top five benefits of compost.

1. Supplying Nutrients

To many people, compost is just another type of fertilizer. They use it simply for its supply of nitrogen, phosphorus, potassium, and other micronutrients. And while compost is a good source of a wide variety of those elements, it is not a concentrated source of specific nutrients as commercial fertilizers are. While that does mean that it’s difficult to use compost as a magic bullet to cure specific deficiencies in your plants, it comes with many upsides. Compost releases its nutrients slowly, over months or even years, whereas commercial fertilizers are typically quickly released and quickly depleted in the soil. Compost also generally features a wide variety of micronutrients, as its composition reflects that of its source materials. This can help prevent plants from developing deficiencies of minor elements like manganese or calcium, which are more likely to arise when relying on an NPK fertilizer.

2. Adding Organic Matter

Most home sites are not chosen for their fertile land, leaving homeowners to struggle with their native soils. While landscape plants can be selected to suit the existing conditions, it’s particularly hard to grow fruits and vegetables in mucky clay or quick-draining sand. Compost can come to the rescue, adding rich organic matter into troublesome soil to create a better growing medium. Not only does compost contain decomposed plants and food scraps, which nourish the soil, it is teeming with fungi, bacteria, and other organisms. These create a dynamic food web in your soil that has far-reaching effects for soil health. Compost is also rich in carbon, and adding it to the soil is a form of carbon sequestration that counters greenhouse gas emissions.

3. Building Soil Structure

Soil is not just one big block of dirt. It is a mix of sand, silt, clay, and organic matter in varying ratios. The spaces between the particles are known as pores, and it is through these pores that air, water, and plant roots move. It is easy to compact the soil, however, and collapse those pores. Compacted soil usually goes hand in hand with new construction, which has seen months of heavy foot and vehicle traffic around the site. Clearing a site of vegetation also usually leads to compaction, as the roots of growing plants are important for establishing and maintaining pore spaces. Not to mention, all the animals and microorganisms the vegetation supported are equally vital for healthy soil structure. Even areas that have been cultivated as lawns can be heavily compacted, the effect of years of foot and mower traffic and a root system that only reaches down a couple inches. Simply mulching with compost can help rebuild soil structure by introducing worms, beetles, fungi, and other organisms that work the soil and create new pores. Tilling the compost into compacted soil can also add diversity to the mix of soil particles, but it runs the risk of destroying any existing organisms in the soil.

4. Retaining Water

One major consequence of improving soil structure is also improving its capacity to receive and store water. When precipitation hits the ground, it can only sink into the soil if there is open pore space to absorb it. Otherwise, it runs off across the surface, eroding topsoil and picking up contaminants along the way. Soil amended with compost is able to capture more of that water and hold it right where plants need it—in the ground. And a nice thick layer of compost as a top-dressing is great for keeping the soil cooler and reduce moisture lost to evaporation.

5. Reducing Waste

In the United States, about 40% of the food that is grown is never eaten. There is more food in landfills than any other single material, where its anaerobic decomposition releases methane, one of the most potent greenhouse gases. That doesn’t even include other organic materials like yard waste, greasy pizza boxes, and shredded paper that are all excellent ingredients for composting. Composting these organic wastes reduces the amount of material send to landfills and sequesters carbon instead of releasing it into the atmosphere. Composting at home cuts out the impact of trucking your waste to a commercial facility, but those commercial facilities also have the ability to compost many materials that are difficult to deal with in a backyard system. Even if you don’t compost at home, participating in a green waste program is an important contribution to reducing waste in landfills.

Composting Methods 2: Outdoor

For those with outdoor space, there are many composting options available to suit every level of commitment. One of the first considerations for backyard composters is usually the issue of space. While a rural property might have plenty of room for a sprawling passive compost pile, it would likely be a nuisance on an urban lot. Pests are typically an equally important consideration—a yard plagued by raccoons might be unsuitable for any type of open piles or bins. And finally, the amount of work you are willing or able to put into your compost will dictate what methods are best. A compost system that doesn’t work for your lifestyle will be abandoned

Passive Composters

Passive composting is an easy and low-maintenance way to put your organic waste to good use, simply relying on natural decomposition processes to produce compost. It can be as low-tech as a heap in the back yard, a homemade bin system, or a durable plastic bins designed for this style of composting. Not only do most purpose-made passive composter contain odors, keep out pests, and have a smaller footprint than a sprawling compost pile, they simplify  the task of harvesting finished compost with a hatch at the bottom. While the effort needed for passive composting is very low, the time it takes to make compost is quite long, typically between 6 months to a year.

Compost tumblers will keep pests out, but have trouble letting decomposers in.

Compost tumblers will keep pests out, but have trouble letting decomposers in.

Compost Tumblers

Compost tumblers offer the benefits of an enclosed compost system, but they also have the ability to turn and aerate the contents for faster decomposition. There are many styles of compost tumblers on the market, but most can produce finished compost in a few months with the right mix of materials. There are a few downsides to tumblers, though. Because of their enclosed design, there is no connection to the native organisms in the soil. A compost pile or bin located on the ground has an easy path for earthworms, beetles, microbes, and other decomposers to move in and do their work, but a compost tumbler is closed off from many of these organisms. It also tends to dry out faster than other types of bins in warm weather, as all sides are exposed to the air and conduct heat to the compost inside. Most compost tumblers available are also too small to retain the heat generated naturally from decomposition which kills seeds, root fragments, and pathogens.

Three-Bin Systems

A three-bin system is great for those who are able to devote more time to managing their compost pile and also have room for a larger setup. It is one of the best setups for a hot compost pile, which is an extremely fast way to compost and also kills seeds, root fragments, and pathogens because of the high temperature it works at. The tradeoff is the necessity to frequently turn the compost—literally flipping the whole pile over weekly or more often. You add material to one bin until it is full and then move it into the adjacent bin to turn it, moving it back and forth every week. The third bin is used to once again collect material for the next pile.

This plastic mesh bin can be unclipped and repositioned to make it easy to turn the compost pile.

This plastic mesh bin can be unclipped and repositioned to make it easy to turn the compost pile.

Portable Bin Systems

Another great option for building a hot compost pile is a removable bin. This can be a commercially available plastic product, a set of DIY hinged wood and wire panels, a simple cylinder of metal mesh, or many other creative designs. The key feature is that the bin can be unwrapped from the compost pile—which should hold itself up if all is well inside—and repositioned next to the existing pile. Then, like with the three-bin system, the compost is turned into the new location. Portable bins can be very cost-effective and can be great for those who don’t have space for a three-bin system, or who want a less permanent option.

Worm Bins

Finally, worm bins are another option outdoors! Areas with mild winters can take advantage of worm bins year round, but in northern climates like in Spokane and Coeur D’Alene, worms must retreat below the frost line to survive. That means that it is important to give your worms an escape route, whether by using a bin that gives your worms contact with the soil or by repatriating your colony every fall. Outdoor worm bins can do double duty as furniture or be attractive landscape features in their own right. They can also be integrated into existing garden areas, maximizing the impact of the worm castings and minimizing your own effort.